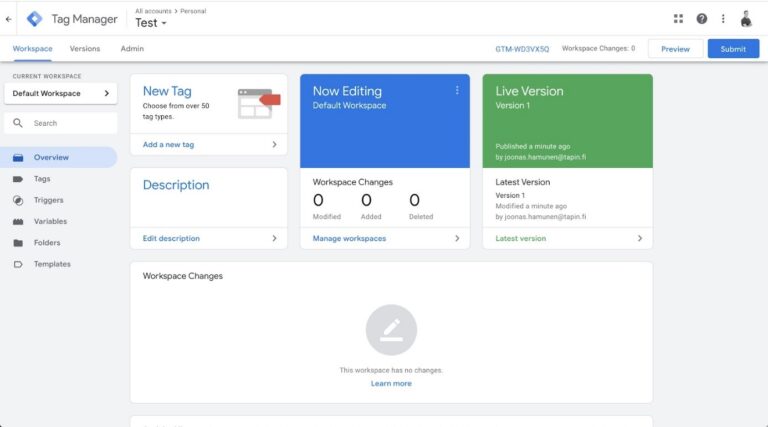
Follow these step to get up and running with your account based tracking.
Step 1.
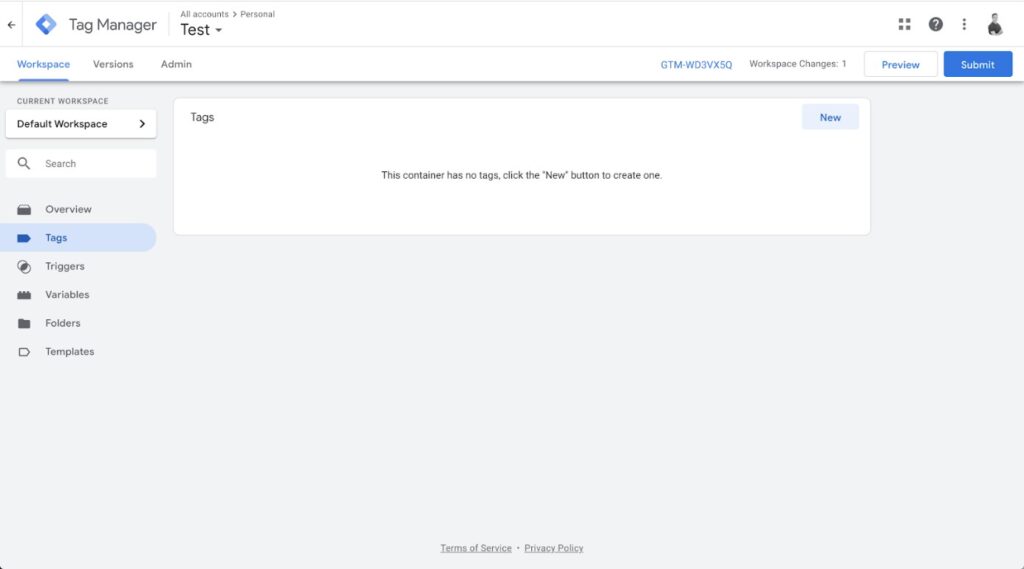
Step 2.
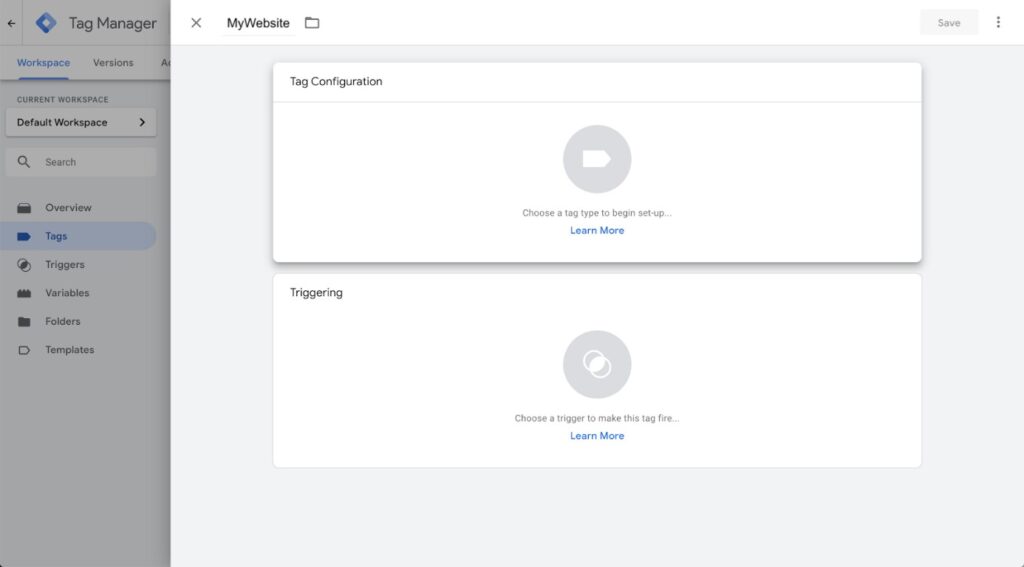
Step 3
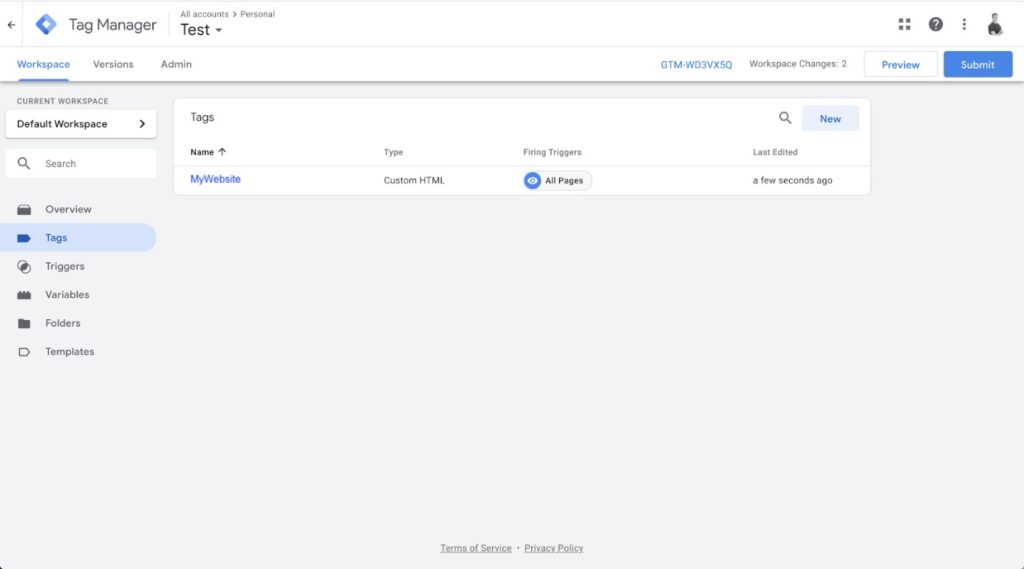
Step 4.
Choose a trigger below the Tag configuration screen: Select “All Pages” with the type “Page view”.
Step 5.
Step 6.