Install via HubSpot
Follow these step to get up and running with your account based tracking.
Individual pages >>
– To add the file to an individual page.
For all pages >>
– To add the file to all your pages on a domain.
For specific pages
Step 2.
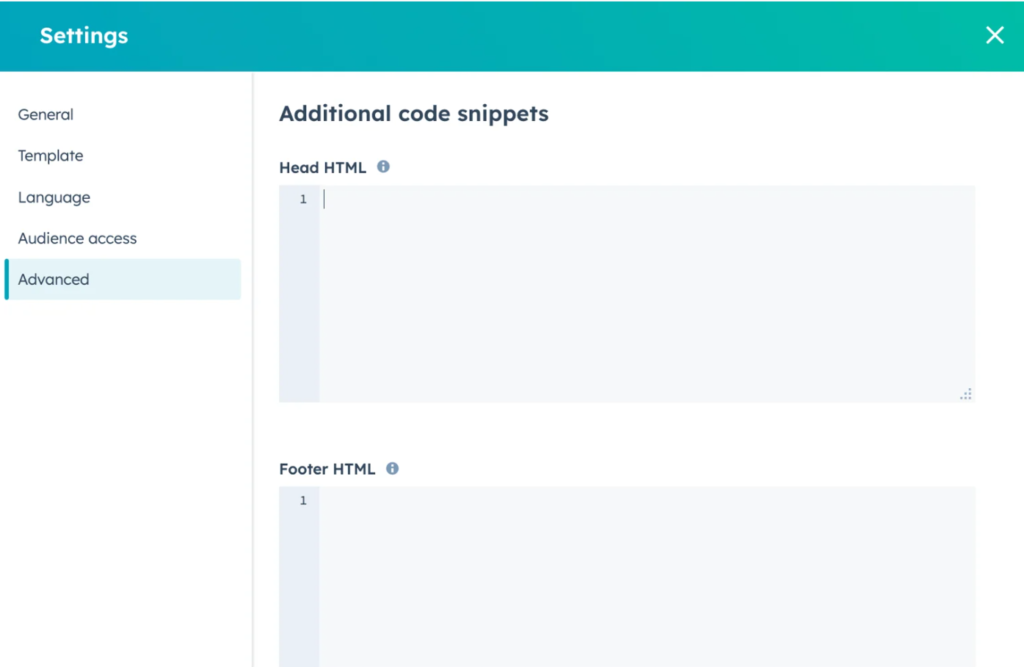
- Hover over your content and click Edit. In the content editor, click the File menu and select Page settings or Blog settings.
- In the dialog box, click Advanced in the left sidebar menu.
- In the Additional code snippets section, enter your code snippet into the Head HTML or Footer HTML field.
- To take your changes live, click Publish or Update in the top right, then click Publish now or Update now in the dialog box.

For all pages
Step 1
- In your HubSpot account, click the settings icon in the main navigation bar.
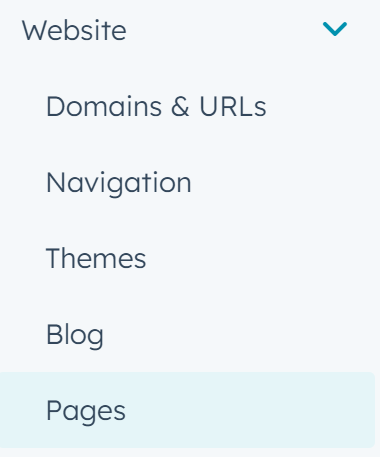
- In the left sidebar menu, navigate to Website > Pages.
- In the upper left, click the Choose a domain to edit its settings dropdown menu and select a domain.
- To apply the same code to all HubSpot-hosted content, select Default settings for all domains.

Step 2.
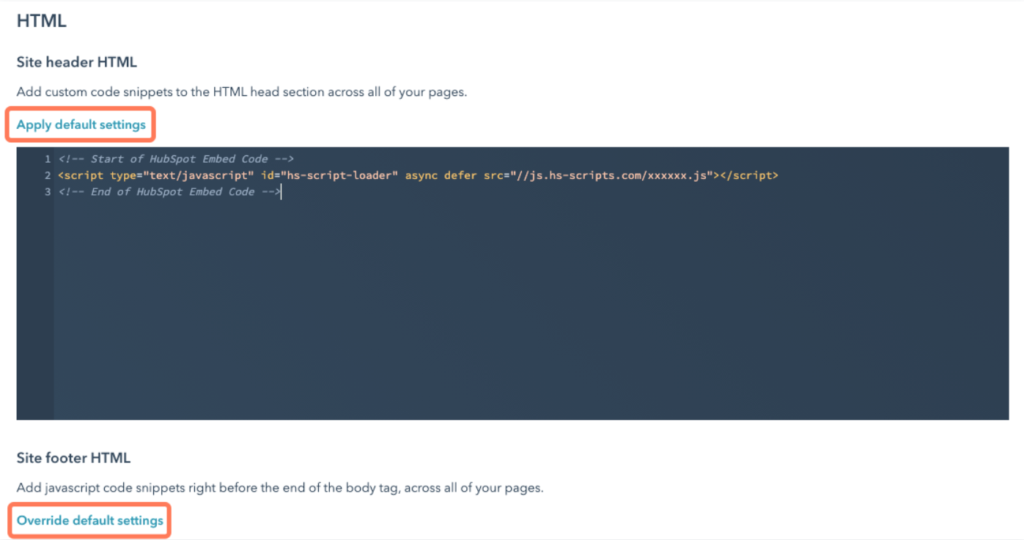
- To revert a specific domain’s header or footer HTML to the Default settings for all domains instead, click Apply default settings.
- Enter your code snippets
- In the bottom left, click Save to apply your changes.


